Tips on How to Build a Pavement for your home
If you are a homeowner planning to lay pavement for your home, you can do it yourself with the proper guidelines.
So, what procedures should you follow to install pavement successfully?
Do you need to have years of experience dealing with construction or paving? I don’t think so.
The process starts easy:

Plan your construction
Before buying all the tools and materials you need for your construction, you must start with a plan.
Think of how you want your pavement to go from your house.
Which location, direction, size, and length?
You can use graph paper to make scaled measurements for specific measurements.
Most importantly, follow a path that offers the best slope for any water to flow away from your house.

Obtain your materials
Now that you have taken measurements and know what you need, you can go to your local hardware store and get any necessary tools.
Also, you can get the preferred paving material you want from the shops.
The choice lies solely in your hands if you use concrete, tiles, bricks, asphalt, gravel, or any other material.
Choose the one that you can effectively install without much hassle.
Also, get the material that compliments your home, is easy to install and maintain, and will last long.

Outline the area and scope the slope
Next, you will need to outline the size of your project.
You want the site to appear neat at the end.
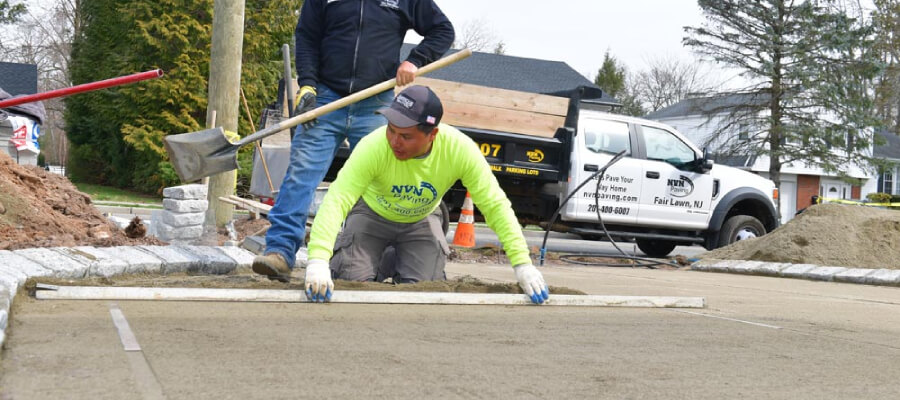
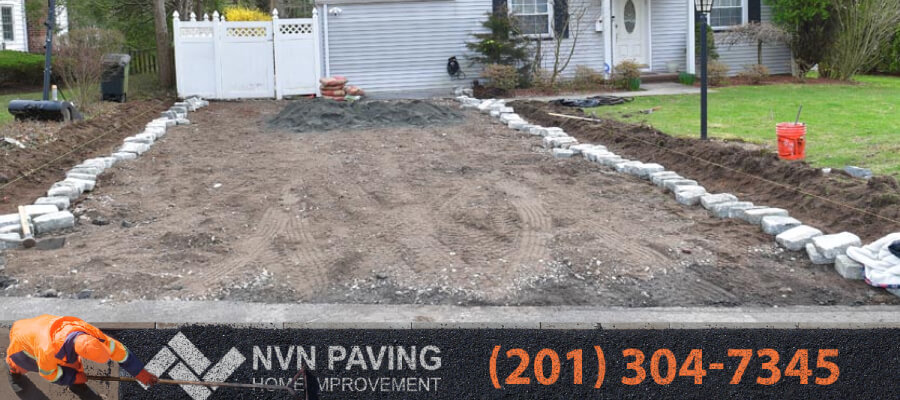
Use strings, stakes, garden hose, and planks to mark the regions you plan to pave.
Marking the ground makes it easier to create sharp corners and maintain an orderly construction.
Next, you will need to scope your slope.
It would help to raise your pavement above the ground to prevent water pooling.
Also, make sure that when you start your project, start from the highest point, which is supposed to be at the front of your door; otherwise, you risk water flooding your doorstep.

Excavate and lay down the base
Now, you have the plans, the markings, and the scope.
To determine how deep you need to excavate, sum up the depth of the base, sub-base, sand, and pavers.
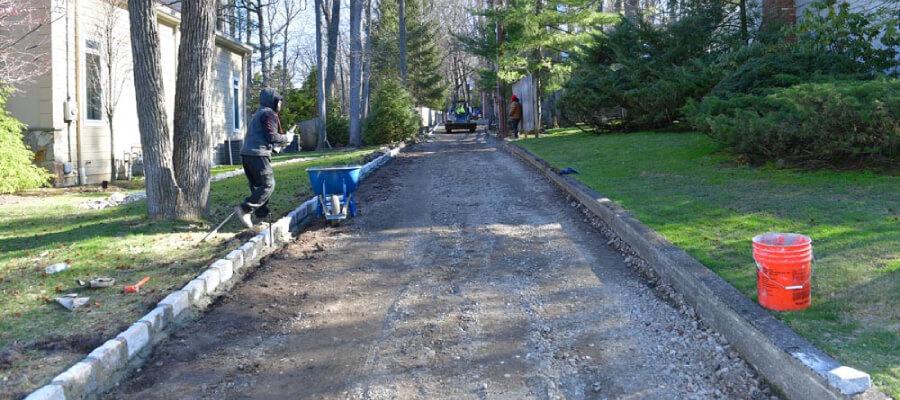
Once you have these measurements from the thousands of professional sites online on paving, you can start by removing any top plants, then digging your way deeper until you are at the required depth.
Once the depth is sufficient, you can then go ahead and lay the base material.
These will vary depending on the pavers you decide to use.
It could be sand, a mixture of sand, coarsely crushed stones, and a geotextile for more stability.
Compact it properly when laying out the base until you have the correct depth.

Install the pavers and grout.
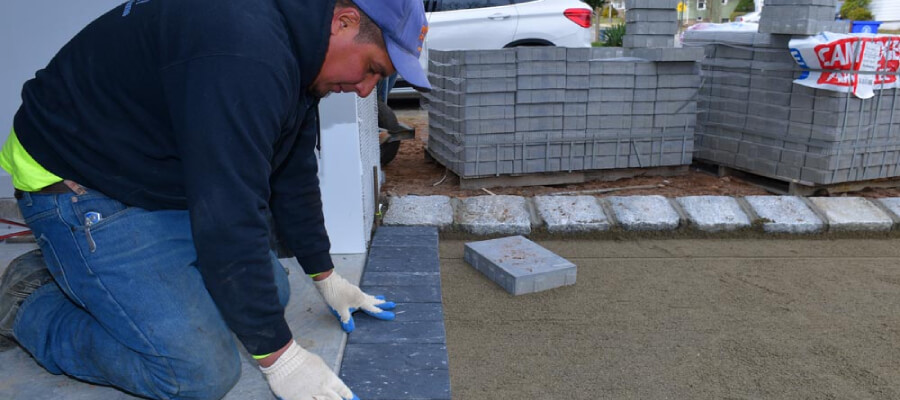
Once the base and sub-base materials are in place, you install your pavers.
You can choose the pattern that pleases you, provided you choose a versatile material.
You will need to use some restraint to hold the pavers in place for a long time.
Whether you use plastic, aluminum, or steel restraints, they will hold the pavers and anchor them into the ground.
While laying the pavers, place them straight down to avoid disturbing the sand.
Then, finish off by compacting the pavers using a plate compactor.
Once you are confident that you have compacted all tiles and they are in place, sweep some sand over them to fill up any gap before sealing them off.

How do you maintain your pavement?
Once you have done all the hard work and are proud of your work, you need to take some measures to preserve your pavement.
With time, you will notice dirt and grass growing on the joints.
When this happens, remove some gardening gloves, uproot them, clean out the pavement, and if you notice any cracks, seal them off.
In some cases, you will see a loose tile on your driveway.
To repair this, remove it, apply a new coat of sand, and fit it back in.
If you use brick tiles and notice them chipping off, you can replace them entirely.


